
Latest project: Refinishing an old General's desk from Fort Rucker
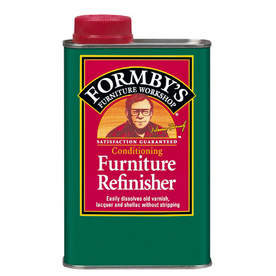
Product review: Formby's Furniture Refinisher
This product is awesome! It takes the finish off of wood without stripping it of color or raising the wood grain. I used it with steel wool and it took the finish off just like it was supposed to and left the wood in great condition. I still sanded the desk (photos to come shortly) to prep the surface and ensure uniformity of the finish.
Product review: Watco Danish Oil Finish
I wasn't sure how this product would work, being a 3-in-1 type of product (stain, seal and protect). I found it true to color and easy to work with. I applied it with a foam brush and used cheese cloth to wipe of the excess. This would be a great product to use for those little touch-up projects around the house. I will definitely be using it on my next project - a corner cabinet.
Note: If you are trying to stain wood to a totally different color, I would probably use a different combination of products. I hope to post more on this subject at a later date.

 RSS Feed
