Kim & Co. Design
Visit Kim & Co. Design on Facebook!
  • Home
  • Events by Design
    • Minnie Mouse Birthday Party
    • Kid’s Woodland Birthday Party
    • Sayonara Summer
    • Prohibition / Roaring 20s Party
    • Festivals & Special Events
  • Real Estate Blog
  • European Travel Blog
  • Design Blog
  • Mommy Blog
  • Flea Market Finds
  • Contact

Antler Adoration

6/8/2015

0 Comments

 
Picture
I just bought my first pair of antlers at a German flea market and have been busy looking at ways to arrange them. After scouring the Internet I began to realize how versatile they are! From entryways, dining rooms and bedrooms to nurserys and even weddings, there is an antler for every space and event! Whether you like the real thing, the painted decal version, or one of the composites, there are enough antler variations out there to find just what you're looking for. Here are just a few of my favorite ways you can incorporate them into your decor...
*I have done my best to link the photos below to their original source. If one of these photos is yours and you would like to be acknowledged in some other fashion, please send me an email. Thanks for your great work!

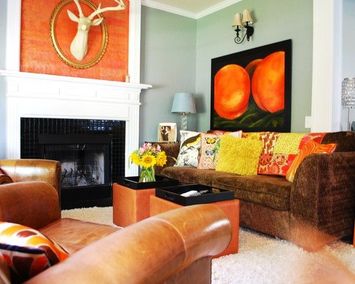
  1. Frame it! How many times have you seen a frame in the clearance section because the glass is broken? Now you can get a great look and a great deal too (think spray paint!)
Picture
Picture
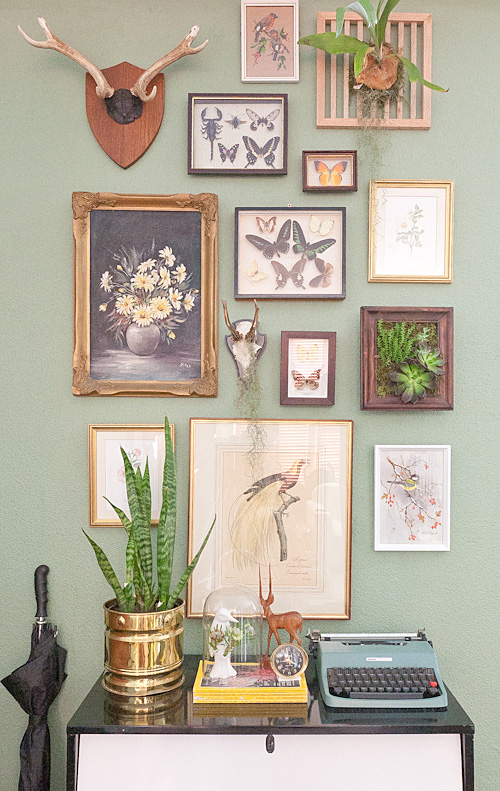
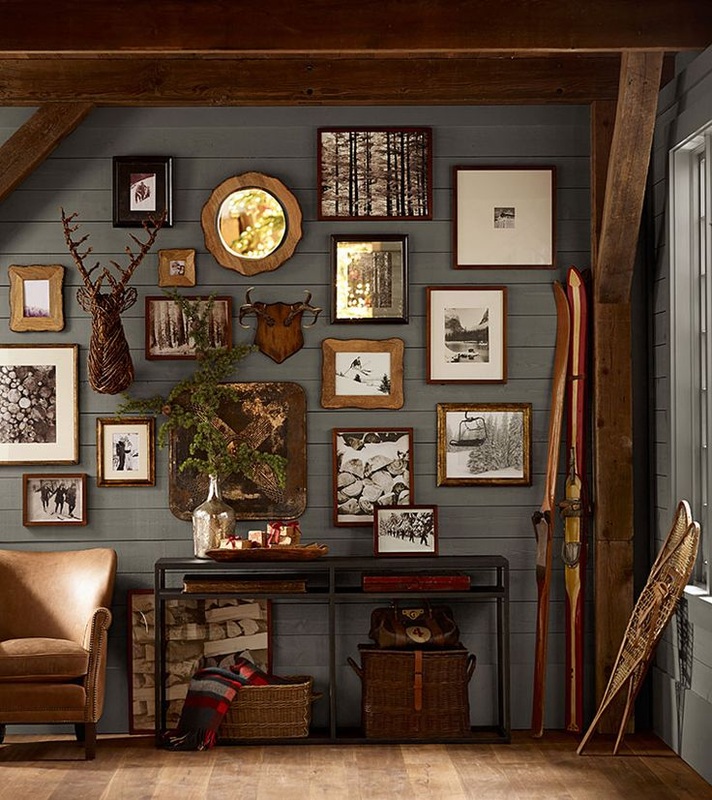
  2. Surround it with things you love! Old photos, your favorite prints and paintings, pressed folliage, and vintage mirrors are just a few of the things that can accent your antlers.
Picture
Picture
Picture
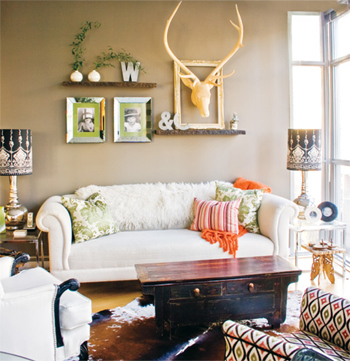
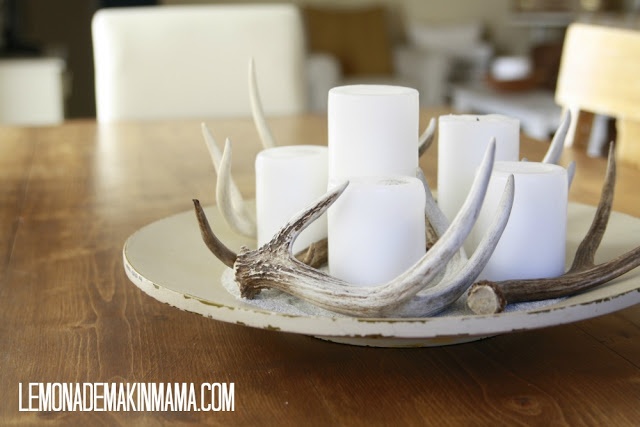
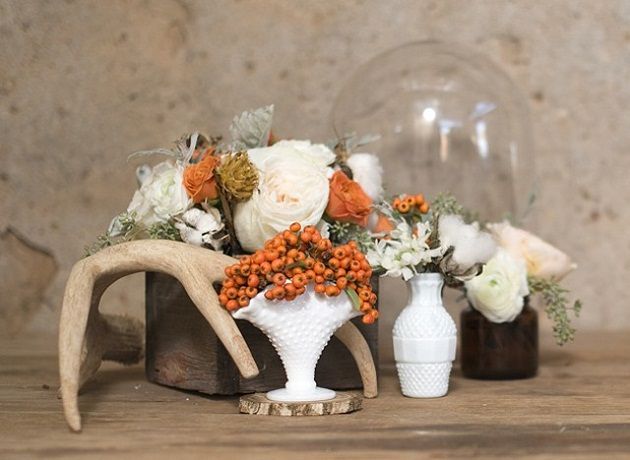
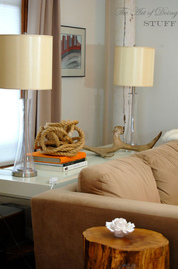
  3. A little goes a long way! Not sure you're ready to jump in with both feet? Try using antlers as an accent piece rather than the main attraction.
Picture
Picture
Picture
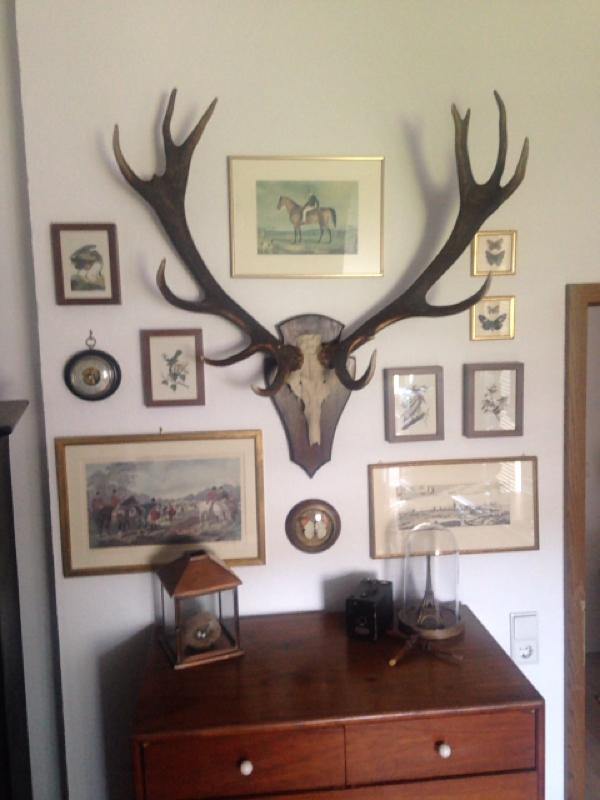
So, after all of my research and a couple of other flea market finds, here is my new antlered wall! With such a large white wall to cover, I can't wait to start adding vintage prints and mirrors around it like in suggestion #2 above (I will post a finished version of the wall when it's complete.) But for now I'm now on the lookout for a darker, more formal wooden dresser to kick this into high gear. I also posted our mounted longhorns that we found in El Paso a few years back. Let me know what you think or send me your photos and I'll post them here!
Picture
Picture

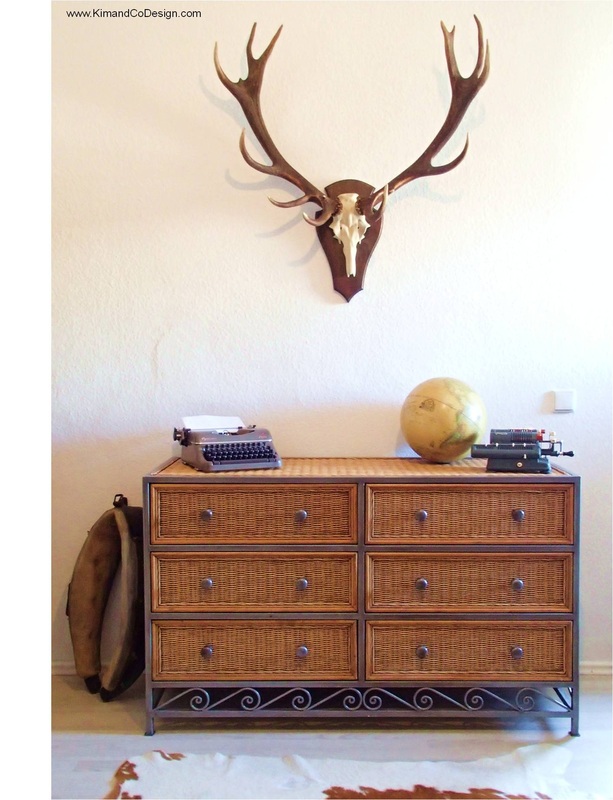
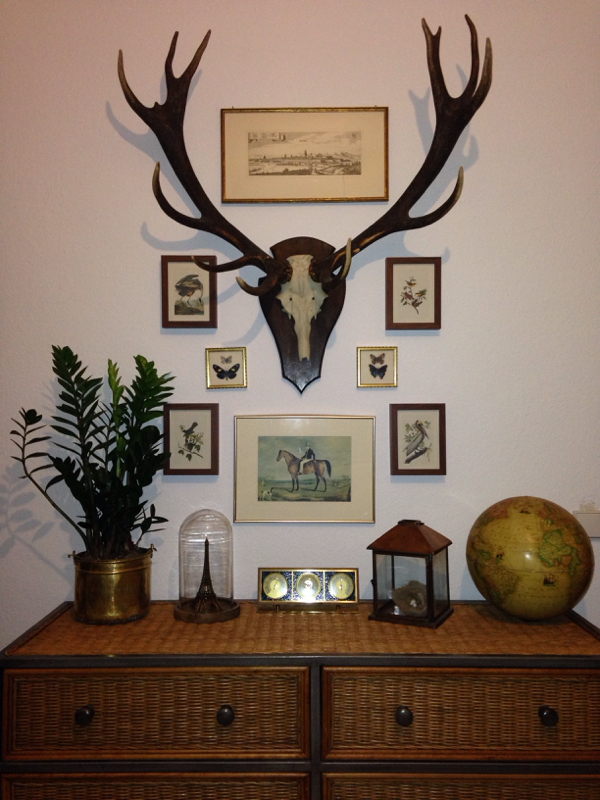
Update: After buying a large piece a furniture, I had to move the gallery To a different wall. I also added a couple of new elements. I think the placement on this wall is much better (although the photo quality is not.)

Picture
Picture
Still looking for more ways to use antlers in your home or event decor? Check out my Antler Adoration board on Pinterest: http://www.pinterest.com/KimandCoDesign/antler-adoration/
0 Comments

Preparing for a Dinner Party - Simple Ways to Lessen the Stress

1/2/2013

0 Comments

 
Picture
Getting ready for company can be exciting and/or stressful, depending on a lot of variables. Here are just a few ways to make the whole evening more enjoyable for everyone.

1.     Write out a menu and list all of the ingredients needed for each dish as far in advance as possible. This will help keep you focused on what you need to accomplish and can also help you to plan a timeline for cooking (especially if you need to share the oven with other dishes). It also helps when you go grocery shopping (and will help you to avoid that last minute trip back when you realize you forgot something). You can also print your menu and display it in any number of creative ways (check out Pinterest for some great ideas).

2.     Set your table in advance. Don’t wait until the day of your party to figure out where you are going to put everyone and everything. Look back at your menu and make sure you know which serving platters, bowls, serving utensils, etc. you want to use for each dish. This is especially important if you are aiming for a specific look or theme. Plus, purchasing fresh flowers a day or two in advance makes sure that they look their best (and you get to enjoy them a little sooner). Take a photo and imagine your food out on display. Look just about right? Even if you have to un-make your table after this process, you will then have a photo work from and it will help others to know what your vision is when they ask how they can help you.

3.     Plan what you can in advance. It never fails that something will come up even when you think you are completely prepared. An unexpected visitor, a phone call you have to answer, or any number of life’s other little surprises. If you can make a few items in advance, it will help relieve the pressure when arrive time is fast approaching. This also applies to other details, such as music, seating, etc. If you can put out the extra chairs a day or two early, you’ll have one less thing to worry about.

4.       And the hardest part… Relax! Take a deep breath and remember that your guests are there to visit you, not just your gorgeous dining table. So don’t forget to lift your glass and enjoy yourself!

0 Comments

Wood Refinishing - Product Reviews

11/15/2012

0 Comments

 
Latest project: Refinishing an old General's desk from Fort Rucker

Product review: Formby's Furniture Refinisher
This product is awesome! It takes the finish off of wood without stripping it of color or raising the wood grain. I used it with steel wool and it took the finish off just like it was supposed to and left the wood in great condition. I still sanded the desk (photos to come shortly) to prep the surface and ensure uniformity of the finish.

Product review: Watco Danish Oil Finish
I wasn't sure how this product would work, being a 3-in-1 type of product (stain, seal and protect). I found it true to color and easy to work with. I applied it with a foam brush and used cheese cloth to wipe of the excess. This would be a great product to use for those little touch-up projects around the house. I will definitely be using it on my next project - a corner cabinet. 

Note: If you are trying to stain wood to a totally different color, I would probably use a different combination of products.  I hope to post more on this subject at a later date.

0 Comments

Skip the Non-slip Rug Pads

11/13/2012

1 Comment

 
Picture
Hardwood floors and rugs can make for a slippery combination. But if you have as many rugs as I do, non-slip rug pads are a necessity - or at least they were.

Instead of using one of those ugly rug pads, try caulking the back of your rugs. Here's how I did it:

1. I used DAP clear premium indoor/outdoor sealant.
2. Using a caulk gun I made rows on the back of the rug. Thinking that the elevated rows would show once they were dry, or worse, that I might feel them once the rug was in place, I smoothed them down flat.
3. I let it dry for about 24 hours and voila! This rug literally doesn't move an inch from where I placed it on our hardwoods. Note to self: I probably could have done fewer rows in strategic places around the edge and middle since this is our kitchen rug and it gets a lot of traffic.
4. What I recommend to people who try this: Start with your smallest or most replaceable rug, just in case you don't like the results. Also, start with fewer rows-you can always add more. I don't know how this would work on other types of floors or other rug fibers, so please test a small spot before you go all out. I do not want to ruin anyones vintage floors or expensive rugs!

Easy and inexpensive! And the best part is that you don't have to worry about a rug pad peeking its ugly little head from beneath!

Update:
1. I found that the more traffic a rug gets, the more the rug holds to the floor (for low traffic areas I had to use more rows of caulking).
2. I washed this rug on cold and hung it to dry - it turned out beautifully. It did not alter the rows of caulking at all!


1 Comment

How to Clean / Polish Copper

11/4/2012

0 Comments

 
Picture
I am a copper fanatic! I've tried numerous cleaners/polishers and ran across this old-time recipe - lemon juice and salt. The citric acid has a chemical reaction with the patina and turns the copper shiny again. This flea market find started out almost black (I forgot to take a photo, but have one that really needs to be polished).  I use a paper towel lemon/salt mixture for basic cleaning and an soft toothbrush for the tough spots and hard to reach spots. No harsh chemicals and almost always in the kitchen!
0 Comments

    RSS Feed

    Categories

    All
    Event Decor
    Home Decor
    Tips & How To

    Archives

    June 2015
    January 2013
    November 2012

    RSS Feed

Powered by Create your own unique website with customizable templates.